|

|
 |
 |
 |
 |
 |
 |
 |
 |
 |
![]()
|
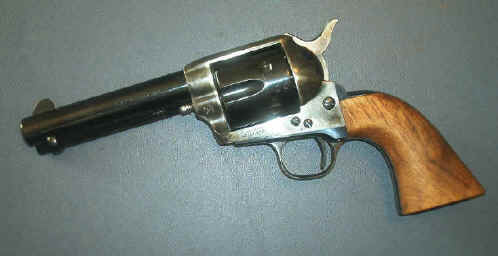
Slicking up an UbertiThese are a few things I did to an Uberti 45 Colt that I recently acquired. The gun was pretty good just as it came from the factory, but like anything, there are always little things you can do to make it better. And it personalizes the gun as well. When someone compliments it there's nothing like saying, "I did that." REMOVE THE BACKSTRAP
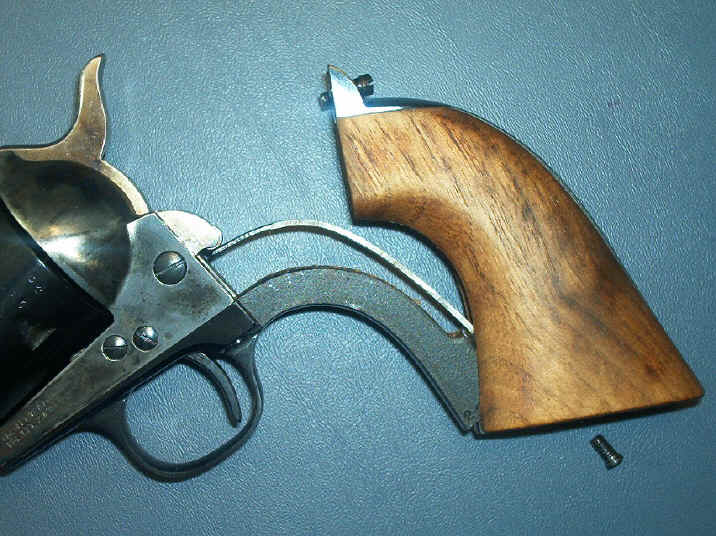
Take the backstrap off the gun first thing. If it has never been removed since the factory it may be fairly tight. After the screws are removed, rock it back, tipping the top up and backward.
Once the backstrap is removed loosen the hammer spring screw and pop the hammer spring from under the hammer. Remove the hammer spring screw and set it and the spring aside.
REMOVE THE TRIGGER GUARD
I keep all the screws and parts in a plastic tray so they won't get lost. I hate searching for dropped parts, pieces and screws.
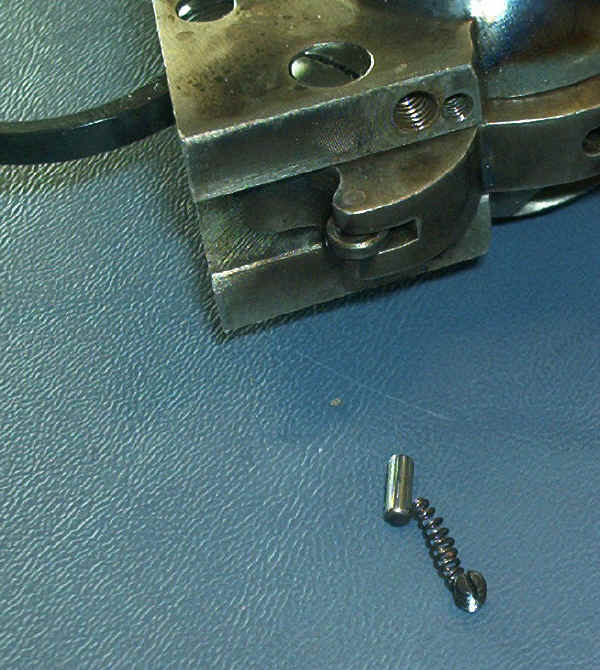
IF YOU HAVE THE "NEW" UBERTIS, REMOVE THE CYLINDER HAND SPRING.
The new Uberti's have a threaded hole just above the left backstrap screw. Carefully remove the threaded plug and take out the spring and plunger. Be careful not to drop them. (If you have the older guns disregard this step)
REMOVE THE HAMMER
When you take out the hammer screw, slide the hammer out the bottom of the frame. The cylinder hand will come with it since it pivots on the hammer.
REMOVE THE TRIGGER SPRING
Turn the gun over and remove the screw that holds the trigger spring in. Lift the trigger spring out of the frame and set it aside.
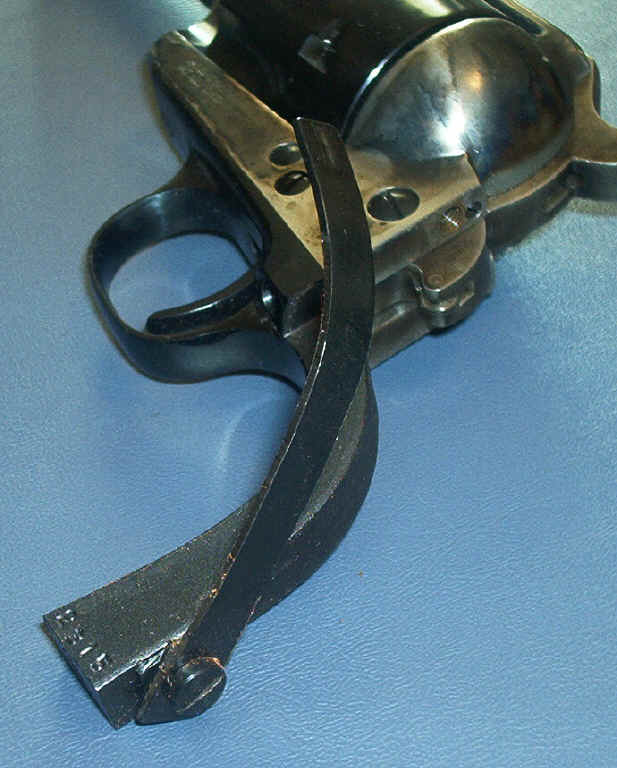
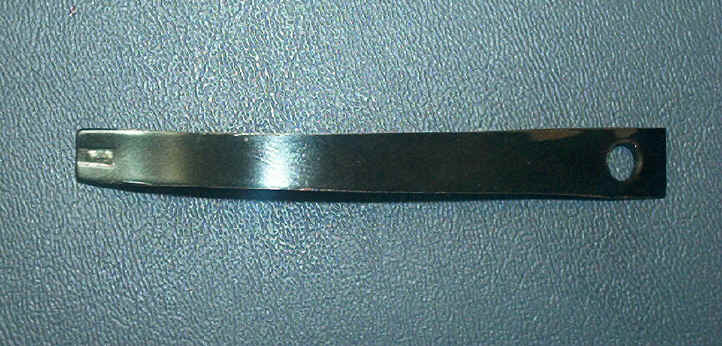
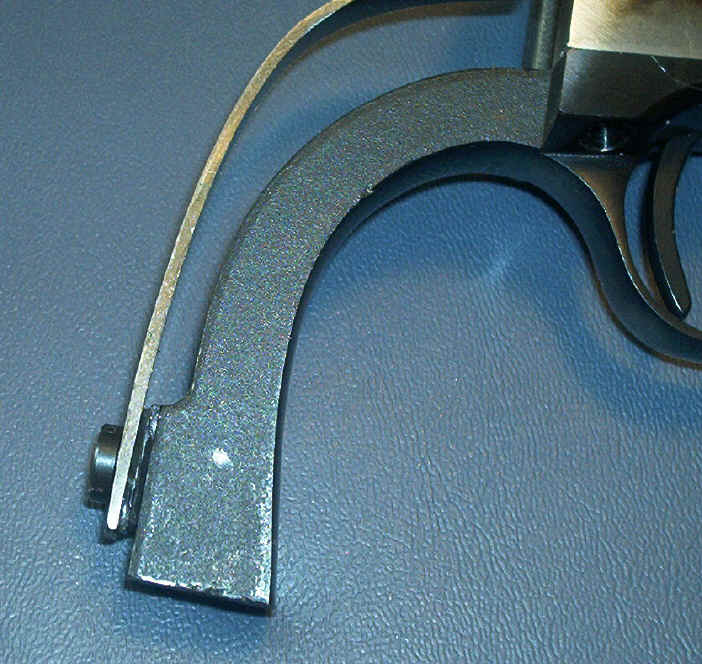
TO REDUCE HAMMER SPRING POWER YOU MUST MODIFY THE HAMMER SPRING OR INSTALL A REDUCED-POWER SPRING
To reduce the spring tension yourself you must thin the spring. I did this on my bench grinder. Note the width of the spring at the bottom below the screw hole? The spring was that wide all the way up to within a short distance from the tip. I simply ground the sides down until I liked the way it felt. This did involve "Cut & Try". When you grind the spring be careful not to overheat it. I did this by holding the spring in my bare hands. When I felt it getting warm I would dip it in some water I had handy. Be careful that the final grinding is lengthwise. Any crossways marks give the spring a nice point to break at.
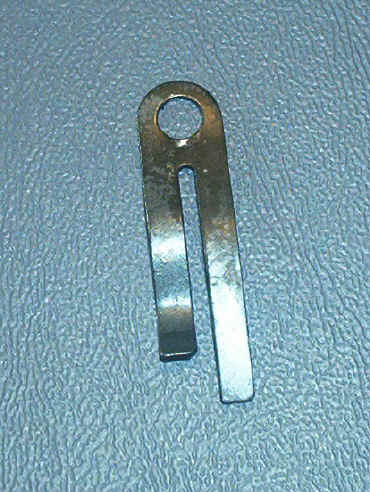
REDUCE THE POWER OF THE TRIGGER SPRING OR INSTALL A REDUCED-POWER SPRING
You do not need to modify the bolt leg (the short one). The trigger leg is the only part that needs work. I straightened the leg slightly so it did not have as much curve as it did originally. Then I ground the side of the leg and thinned it. Do all grinding lengthwise with the spring. And again... Do not get it too hot.
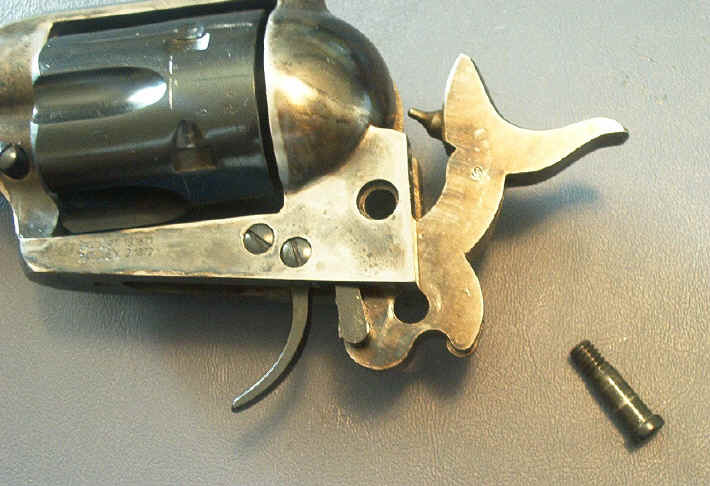
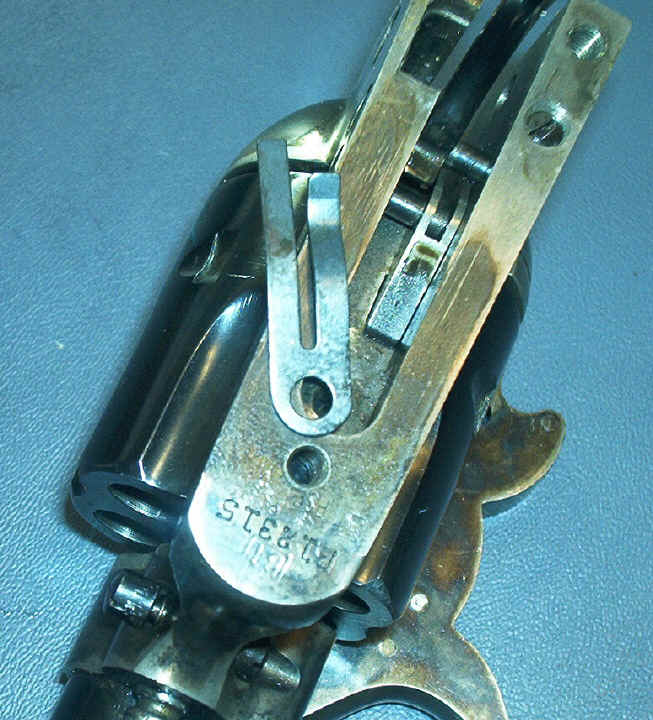
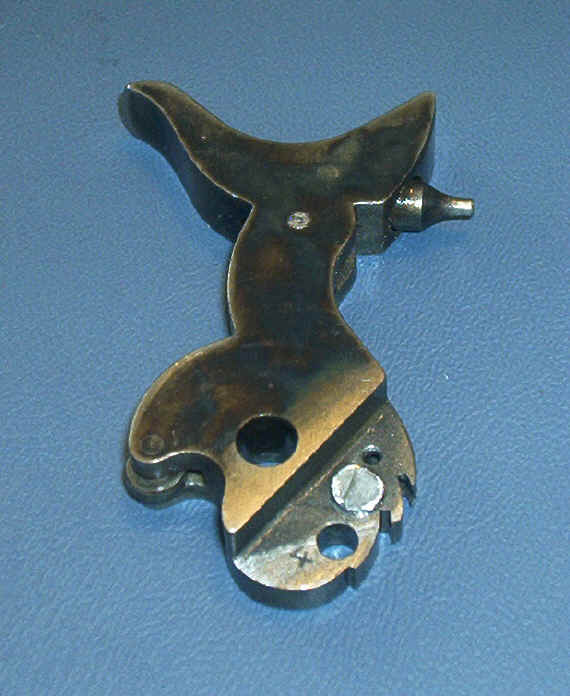
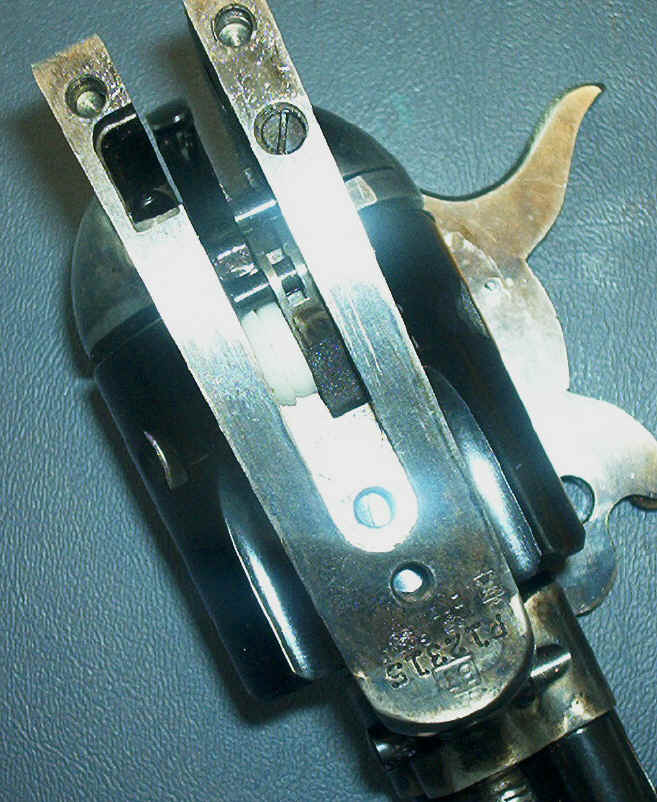
I REMOVED THE SAFETY FROM THE HAMMER. You may not want to. *
The middle one holds the hammer safety bar and the bottom
one holds the hammer safety plunger. Remove the middle and bottom pin.
You may have to tap the hammer to get the plunger to drop out, but it will come.
Remove the safety bar. I reinstalled the middle pin just to keep the
hammer looking nice. The bottom hole is hid by the frame. It looks OK and I prefer it without the safety bar. Some may not like the looks or may prefer to leave the safety in.
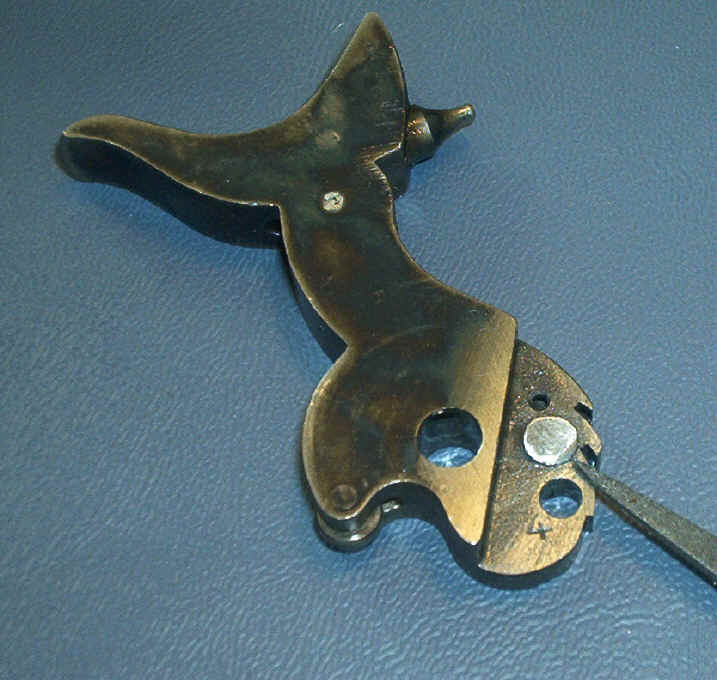
MAKE SURE THE HAMMER CAM IS SMOOTH
<--Before Polishing In the Colts I like to thin the cam so that it does not flex the leg of the cylinder bolt so much, thus giving the bolt a longer life. In the Uberti all I did was smooth it. Some of them have a rough face or a "lip" that needs to be polished down. Don't change the angle of the cam face. Simply do a bit of careful polishing.
You are now ready to put the hammer back in the gun. Don't forget the cylinder hand. If you have the new Uberti, once the hammer is reinstalled, put the hand spring back into the gun.
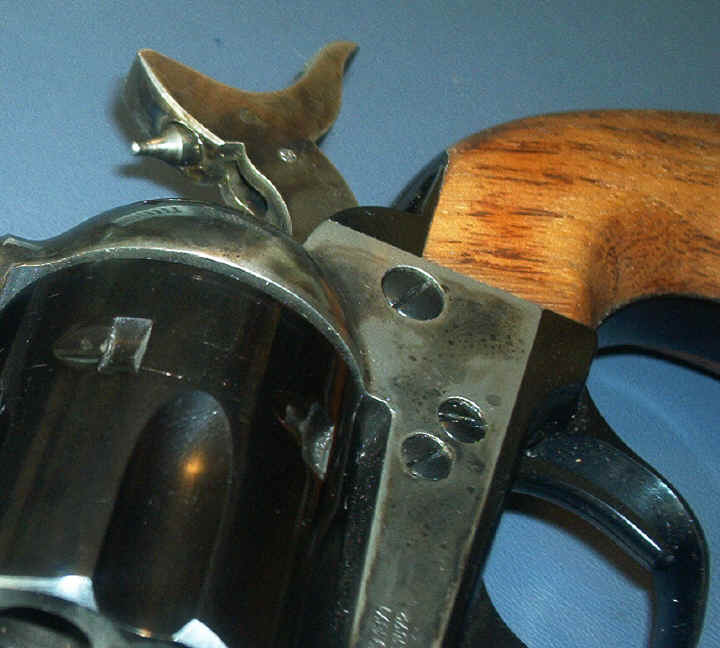
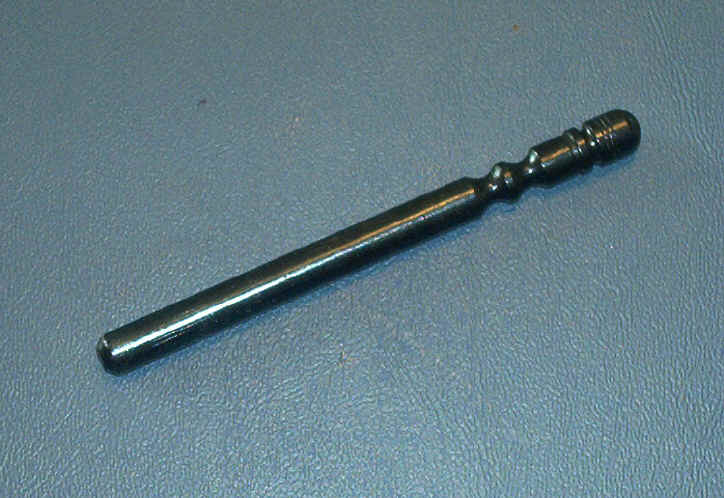
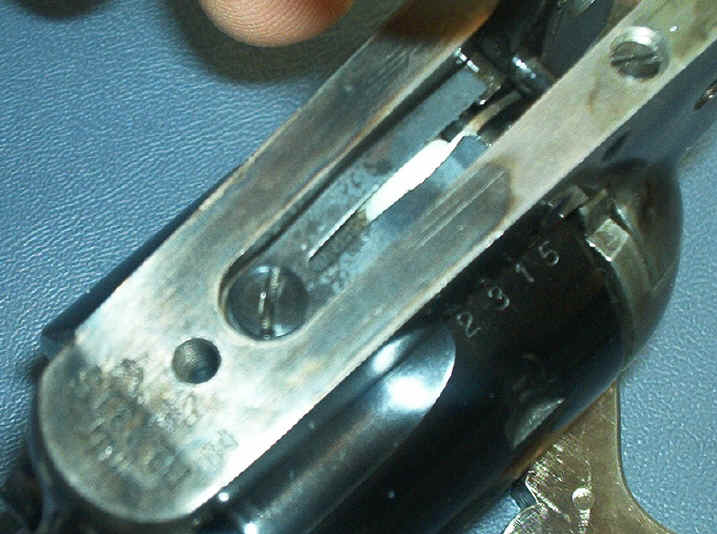
I REPLACED THE CYLINDER PIN *
That is an absolutely useless feature for my use, so I replaced the pin with a Colt SAA pin. It worked just fine. Another "cure" would be to grind off the rear of the pin and use only the forward notch. Or you could just leave it alone.
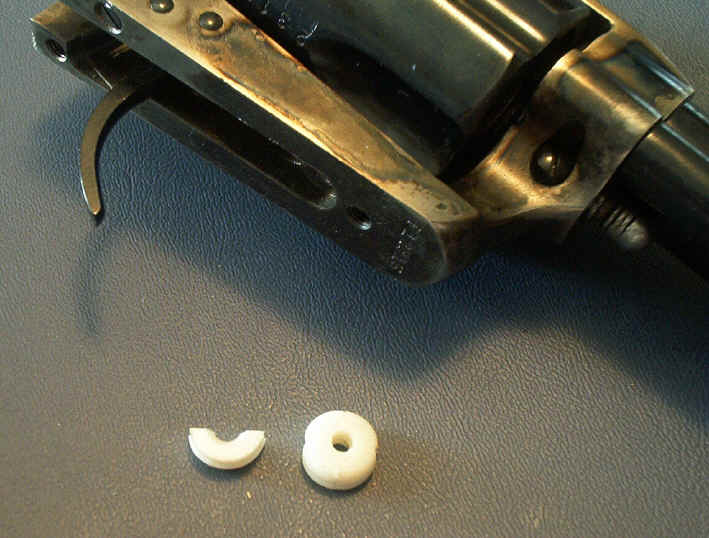
I INSTALLED A SHIM NEXT TO THE CYLINDER BOLT.
A small, thin leather washer can be placed under the trigger/bolt spring to help extend the life of the spring. The leather will allow the spring to flex over more of its length. Eventually the leather becomes hardened though, so it does need checked once it awhile. It is much easier to install a custom long-life spring such as the Heinie Spring. Reinstall the trigger/bolt spring at this time. PUT THE TRIGGER GUARD BACK ON THE GUN. THEN PLACE A SHIM UNDER THE HAMMER SPRING AND REINSTALL IT.
Leather is often used as a shim. This can extend the life of the hammer spring because it causes it to flex over more of its length. Be careful not to make the shim so wide that you cannot get the grip back on the gun. Once the spring is to your satisfaction reinstall the grip and backstrap. Before I reinstalled mine I removed the red varnish on the grips with steel wool and Stryp Eze. I found some nice wood underneath. I sanded and polished them a bit and then applied an oil finish.
I REMOVED SOME COILS FROM THE EJECTOR ROD SPRING
This allows free operation of the ejector and yet maintains enough spring tension to keep the ejector from flopping. With just these modifications the Uberti is running smooth and is a hoot to use. I enjoy shooting it.
Jim Taylor (Ed. Note: Read more about Jim Taylor on the About Us page)
Got something to say about this article? Want to agree (or disagree) with it? Click the following link to go to the GUNBlast Feedback Page. Thanks for stopping by! |
|
|